Newborn posing bags are one of the key pieces of equipment which are well worth the investment for newborn photographers. They provide a comfortable surface for posing your little subjects and styling the scene. BUT, as always, no matter how large the surface area, remember that newborn safety practices are vital at all times.
When you first start out in newborn photography there are so many things which can be confusing. Getting it right can take years of trial and error. One of those things is the Posing Bag set up for your newborn photography session.
This is one of those situations where there is no “one size fits all” solution. We all have different styles, but also different budgets, spaces to work in and working arrangements. Some people have a dedicated photography studio outside their home; others have a studio set up in their home and others are travelling to clients’ homes. The important thing here is to work out what is going to work best for you when posing on the bean bag and customise your requirements to suit.
To give you some insight into my set up, and hopefully give you some inspiration for your own, I thought it would be great to explain it visually for you.
NEWBORN POSING BAG – SET UP
Firstly, let’s talk room layout. In my studio, I have my beanbag 2 metres away from the window at a 45 degree angle to the light source. This distance works for me because of the size of my light source. In the image below, you’ll see I have floor to ceiling windows, with a frosted coating. (In my previous home studio, I used sheer curtains to soften the light.)
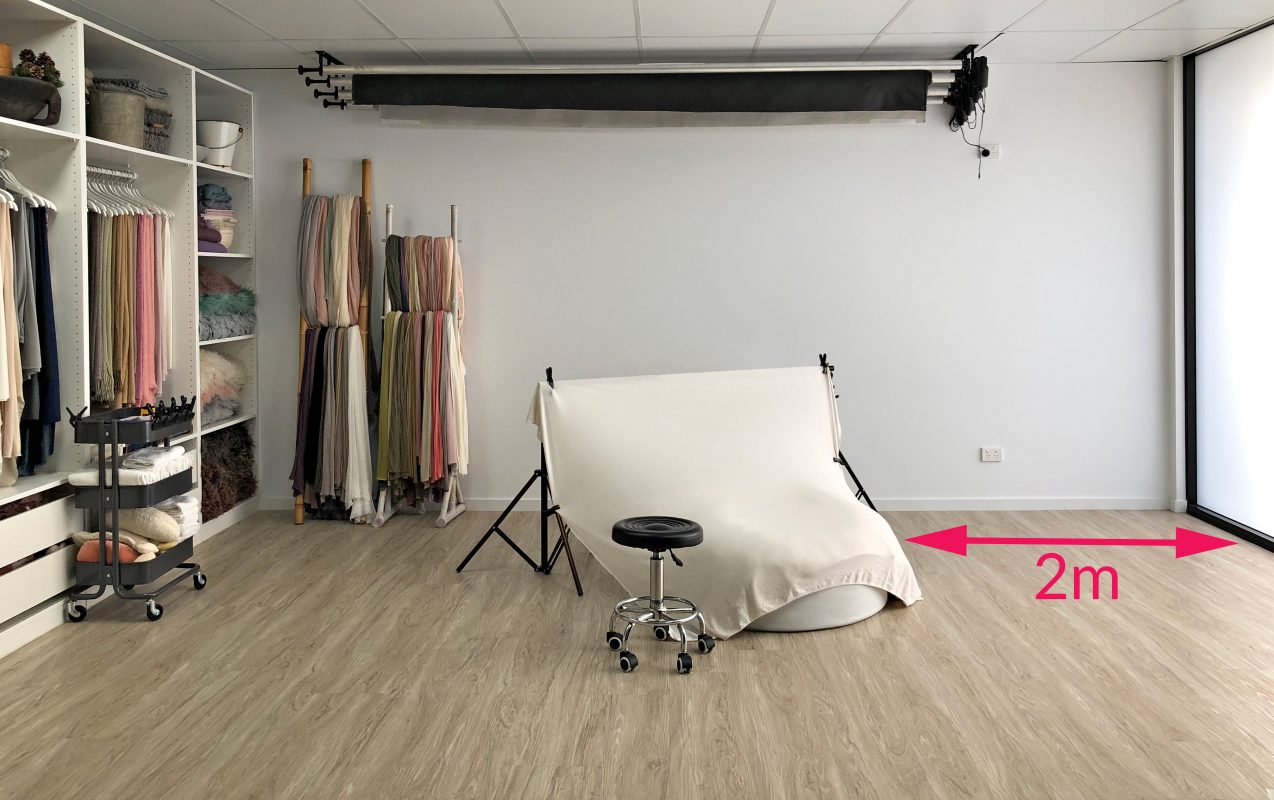
If your light source is smaller, you may need to place your bean bag closer to the window. Alternatively, consider investing in additional light sources, such as strobe or continuous LED light with a large softbox to diffuse the light.
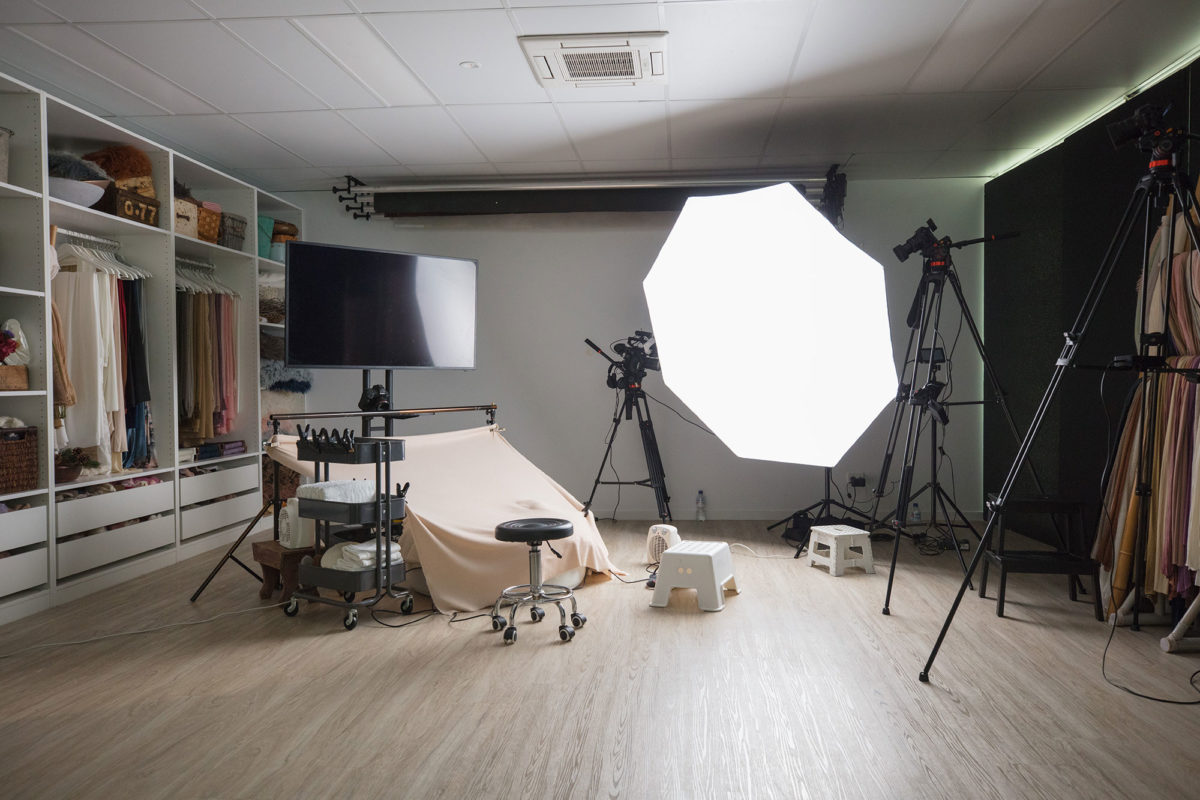
When using artificial light, the principles are the same in terms of how you setup your posing bag and your light. However, once again, this depends on the size and strength of your light, as you can see here.
LEARNING NEWBORN PHOTOGRAPHY LIGHTING
If you are new to lighting, whether natural or artificial, you’ll find step-by-step video tutorials in my Newborn Photography Lighting class. In these, I demonstrate how to achieve flattering, well-controlled lighting using daylight, continuous LED and strobe flash.
NEWBORN POSING BAG SIZE
My posing bag is just over 90cm across in diameter and 30cm in height. My bag is not overfilled as I personally prefer it a little softer. In fact, using my hand, I can create a well in the middle of the beanbag which is about 15cm deep.
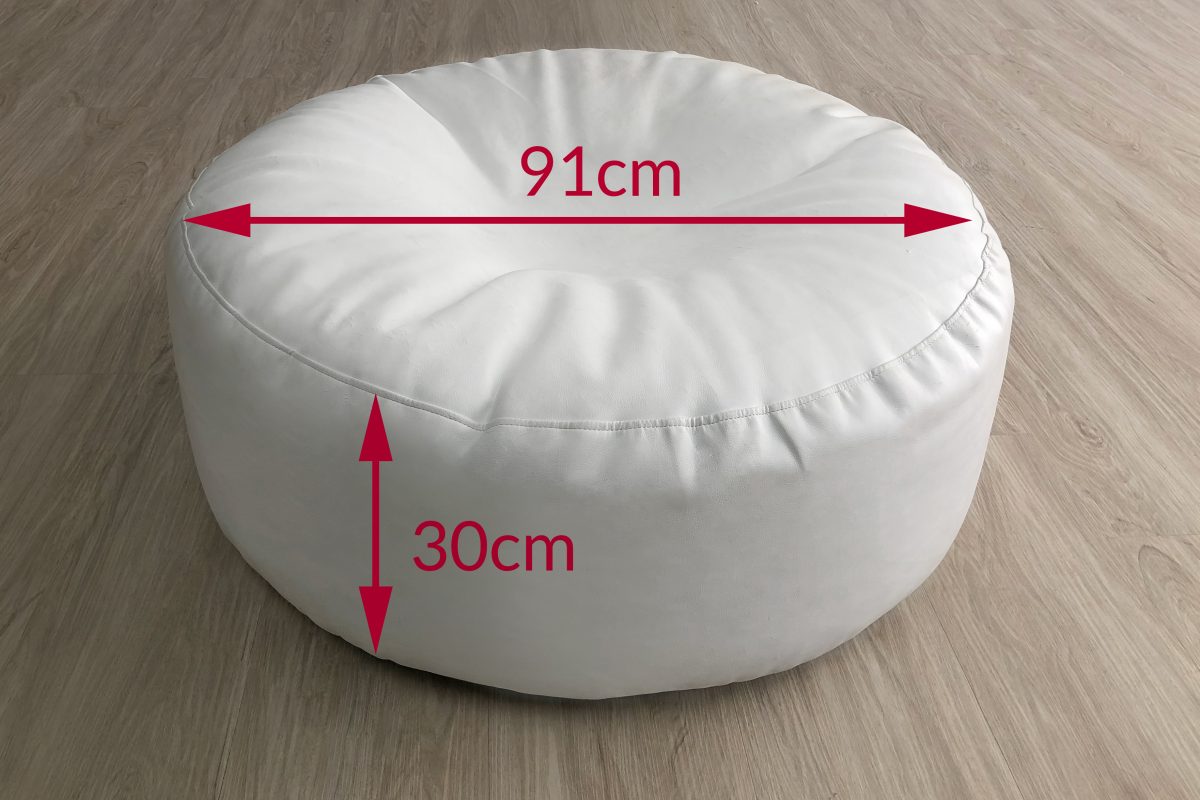
Placing the baby into this well can help them to feel secure & comfortable.
FILLING A POSING BAG
I use regular bean bag fill inside my posing bag. You should find this at most department stores which sell regular bean bags that you’d sit in at home.
Remember, the beans are small so fill your posing bag carefully, and away from children who might be likely to put objects in their mouth. Vacuum any spill immediately after.
Many posing bags include an inner bag inside the actual posing bag, to hold the beans, so that there are 2 layers of protection and multiple zips, to help contain the beans. Placing the bag of fill INSIDE the bag before tearing it open to pour the beans in will help to minimise spill. A second pair of hands may also be helpful.
SMOOTHING YOUR BACKGROUND
A great tip for getting a nice smooth background on the posing bag is to use blankets that have a little stretch in them. This allows you to pull them nice and tight when you’re clamping them to your background stand. This will reduce any unwanted creases and save you so much time in Photoshop.
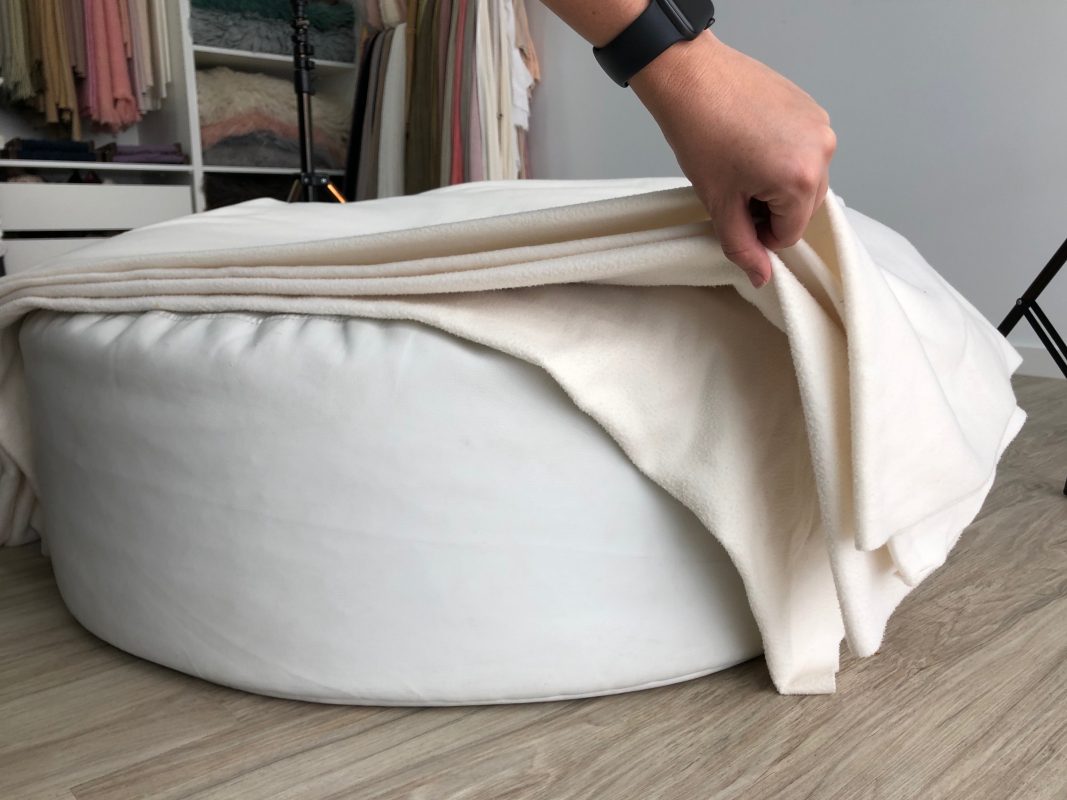
Underneath my posing blanket, are 4 Ikea fleece blankets, folded to create a nice, smooth, thick layer between the posing bag and the baby. This also helps to hide the supports I use to keep the baby in position when posing.
In this video, I chat about posing bag options and safety. I’d encourage you to take a few minutes to watch.
I hope this helps with your aim to create your own perfect bean bag set up. Remember, your set up should be based on your needs and your processes. What works for me, will be different for you, and that’s ok.


Mandy Carr-Moody says
Thank you that’s Great information.
Yumz Poacelli says
This is very helpful, after i watch your video tutorial plus this very helpful guide bring us to a perfect work for our next clients. Thanks so much Kelly we appreciate you always.
Khadija says
Thank you Kelly for sharing such an easy and simple go to setup.
Lorenia Van Vliet says
This is so helpful. I have a better idea of what I need to work on .
Jill Ransom says
Thank you Kelly, you are my inspiration and mentor!
Oksana Berry says
Hi Kelly have you ever used a squared beanbag? That’s what I have and I really struggle with putting the baby far enough to the front without feeling like it’s going to fall or roll off. I have never liked the beanbag set up and I have always struggled with it. But maybe it’s just my beanbag. Or maybe it’s just me? Lol