“Should I shoot in RAW or JPG mode?” It’s a question photographers have been asking for well over a decade now, so why is there still uncertainty? When faced with “RAW gives you so much more image detail” at the same time as “JPG files are easy to store”, perhaps some indecision is to be expected. So in this article, we’re covering the properties of both RAW and JPG files. We’ll discuss situations in which you might choose one over the other, or even set your camera to capture both.
If you currently believe the main benefit of RAW is the ability to make more changes in post, read on. The true benefit of RAW over JPG is the massive difference in the amount of image data a RAW file records, and the significant increase in quality this offers your image on screen and in print.
Remember that most DSLR cameras are able to record both RAW + JPG files simultaneously. Keep this in mind when considering situations where one format may be preferable over the other, OR that you may have a use for both formats in the same job.
Let’s begin by understanding the differences between the 2 file formats.

WHAT IS A RAW IMAGE FILE?
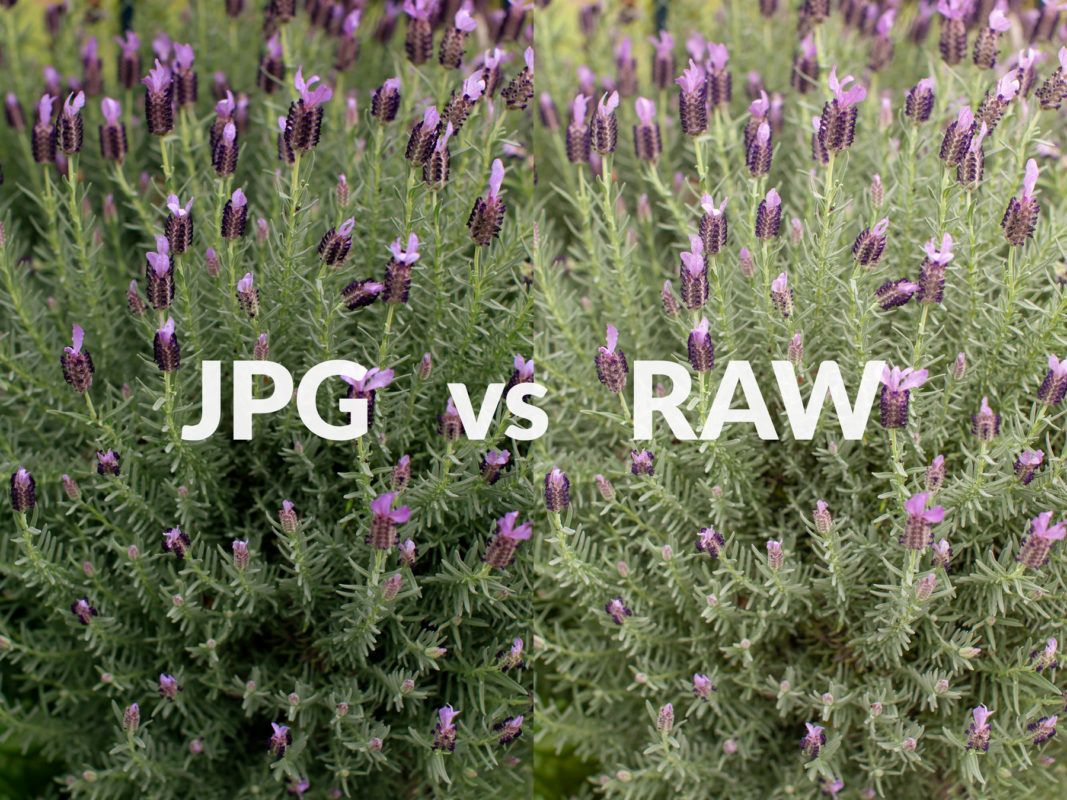
RAW image files – also known as digital negatives – are unprocessed image files. They capture a huge range of colour and tonal data compared to a JPG capture. This broader range of information provides greater options for producing amazing shadow, highlight and colour detail, and lower the chance of banding.
They are a lossless file type (unless lossy is specifically chosen) therefore don’t have compression artefacts like lossy JPG format.
DSLR cameras usually capture 12 or 14 bit RAW files, whereas the JPG file format is limited to only 8-bit depth. Put simply, it’s a case of much more vs much less information.
To expand, Capture One explains, “Bit-depth can be seen as the number of shades between the darkest value of a pixel and the brightest value. When you capture an image in JPG, the depth is 8-bit. This provides 256 shades per channel per pixel. A 12-bit RAW file captures 4,096 shades per channel, while a 16-bit RAW file captures a whopping 65,536 shades.”
When it comes to reproducing detail in your image, that difference is massive!
Greater bit depth offers more detail in your whites, highlights, mid-tones, shadows, blacks. This offers better image quality, and fewer colour and banding issues.
Cooking analogies are often applied to the RAW vs JPG discussion. RAW files are described as a pantry full of quality ingredients you can make a variety of dishes from. JPG files are likened to a shop-bought meal which you can add limited variations to.. and if it’s a little burnt, you can’t “un-burn” it!
WHAT IS A JPG FILE?
JPG file format was developed to provide small, easily transferrable image files. The file records only a limited range of data. In doing so, it must compromise on image quality.
When you capture an image using JPG format, the camera’s processing settings are applied to the file permanently. These settings impact the quality of the image. For example, global sharpening and contrast, cannot be undone. The lost information cannot be recovered from a JPG in post-production, the way it often can with a RAW file. The damage is done.
The limited range of recorded JPG information also means that banding is more likely to occur either in capture or in processing, as you are starting with a lesser amount of data than a RAW capture.
JPG uses lossy compression, meaning that image data is lost when the image is saved. Each time the image is modified and updated, further data is lost. JPGs are an 8-bit image format, meaning the colour and tonal detail which can be recorded is limited.
So while the upside of JPG files is that we have a format which is easily shared via email, web browsers and apps, there is a quality trade off if you choose to capture (and save) in this format. And don’t forget, when it comes to printing, the bigger you enlarge an image, the more any flaws are exposed.
You can read more about Image File Formats here: What you need to know about Image File Formats – Newborn Posing

WORKING WITH RAW CAPTURES
FILE SIZE
RAW image files are large file sizes. And while that may be off-putting to some, storage is an essential tool for serious photographers. It’s just as important as your camera, editing computer and software. It’s one of the key ingredients which enables you to deliver a top quality product. So rather than worry about storage, focus on shooting consciously, to shoot better and shoot less.
RAW PROCESSING
RAW image files need to be processed before they can be used. Processing means applying profiles, setting sharpness, density and contrast, white balance, and so on. You’ll need a raw image processor such as Adobe Camera RAW (included with Photoshop and Bridge) or Lightroom. Other options include Capture One or your camera’s proprietary software, however ACR and Lightroom are the most commonly used options. Once you have set your raw processing settings, export and share your image, or export for retouching in Photoshop.
IMAGE CORRECTION AND RECOVERY
Because RAWs capture more information than JPG files, you have more flexibility to correct under or over exposed images. The same applies to correcting white balance more accurately. While you should focus on capturing an optimum image in camera, the option for information recovery is available if things don’t go to plan.
MAKING IMAGE SELECTIONS
A common complaint about working with RAW files is that they can be slow to preview. Lightroom users can import their session and allow 1:1 Previews to render while you are working on a different task. Those previews will be ready for you later when it comes time to make selections.
If you’re shooting high volume jobs such as weddings and events, consider investing in Photo Mechanic. This software reads the embedded JPG preview which is automatically created in every RAW file upon capture. (That’s the preview you see almost instantly on the back of your camera). By showing the embedded JPG preview, Photo Mechanic allows you to view full size previews virtually instantly. This cuts your selection time significantly compared with Bridge or Lightroom.
WORKING WITH JPG CAPTURES
PICTURE STYLES
In JPG format, camera settings such as white balance and “picture styles” are applied to the image permanently on capture. While this can be a time saver for personal snapshots, it can present significant limitations to client images.
Picture styles (eg Neutral, Portrait, Landscape, Monochrome) are presets, created to enhance a set of characteristics, depending on your subject. They commonly influence image sharpness, contrast, saturation and colour tone. For example, saturation and contrast are often higher in Landscape style. Neutral style is generally flatter and lacking vibrancy.
When you capture a JPG image, the file is permanently rendered with these properties. And, while you can certainly make adjustments in post-production, your efforts are limited as you cannot “undo” these settings.
By comparison, in a RAW file, none of these settings are permanently applied in capture.
WHITE BALANCE
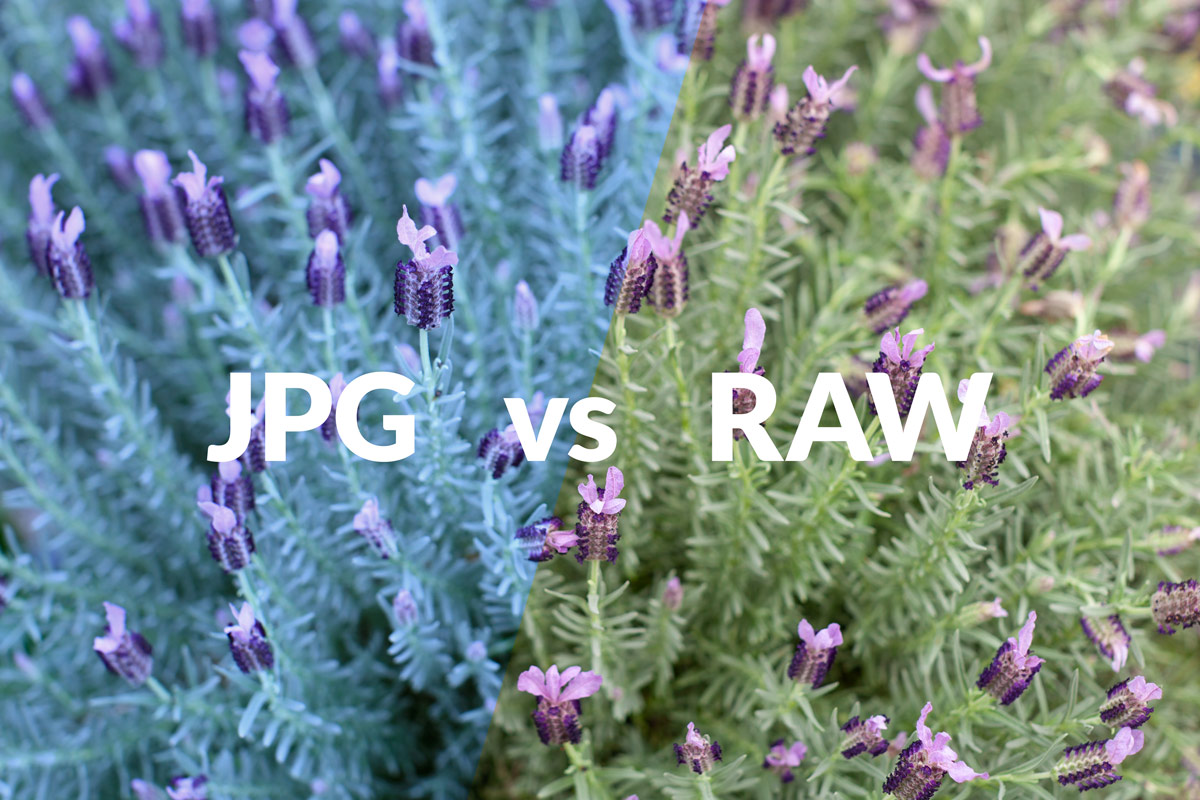
It’s an extreme example, however, many of us have heard the horror stories. Photographers capturing a client session in JPG with their camera set to the incorrect white balance producing blue skin tones. In the example below, the camera was set to Tungsten balance, causing the strong cool cast. The camera was set to capture RAW+JPG. Left shows the white balance the JPG was rendered with – difficult to correct and would still leave a cast. The image at right shows the RAW file. The white balance was able to be adjusted in the raw processor in seconds given the broad colour and tonal data available.

Skin tones are a lot less forgiving than flora. So having greater control over white balance and colour adjustments with a RAW file has significant advantages.
“BUT MY JPGS PRINT FINE”
Sure, they probably look okay. But why settle for okay when they could be outstanding!
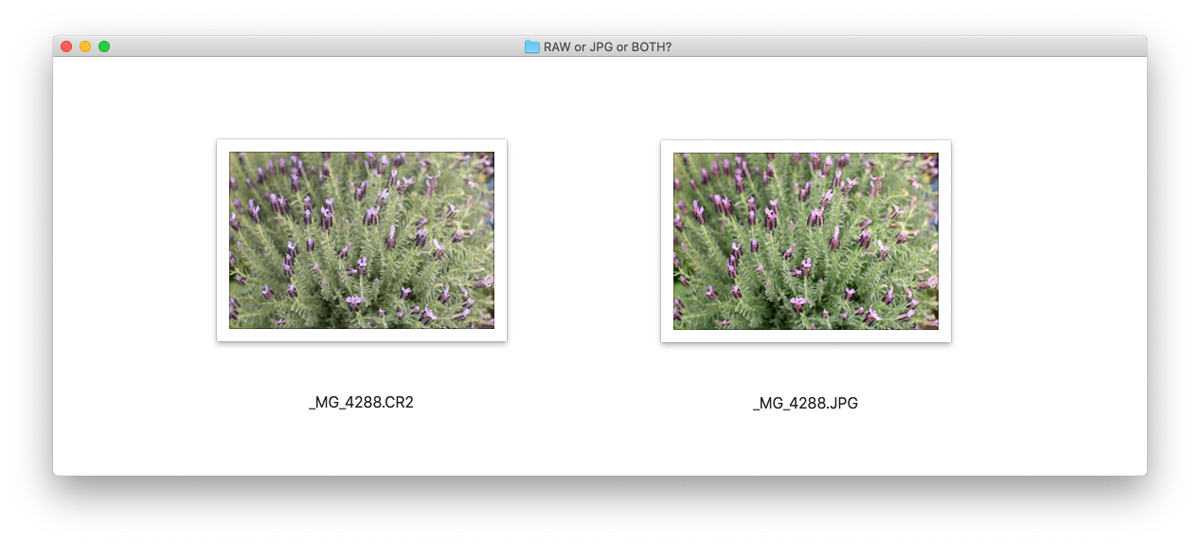
RAW or JPG or BOTH?
ART and CLIENT WORK
It should be clear from the information above that RAW captures provide a superior amount of image data. This can be processed into a well controlled, stunning print. We would suggest that for artists, commercial, portrait and wedding photographers, RAWs are the best place to start.
Wedding photographers offering a “same day slideshow” would be wise to set their cameras to RAW+JPG. This will allow the in-camera processed JPGs to be prepared for the reception slideshow. They will download faster and can be used with little to no processing. The RAW files will also be available for full processing for the client’s album and prints.
There are certainly situations where RAW is either unnecessary or can even be a hindrance…
URGENT TURNAROUND TIME
There are some professional photography genres which consciously shoot in JPG format to suit their delivery demands. This is common amongst many press and sports photographers. These photographers often need to have their images filed (sent electronically) back to their news desks almost instantly. A smaller JPG file size often makes this more achievable than a large RAW file. Depending on end use, they can also choose to capture the RAW if they wish for later use.
PERSONAL IMAGES
Given the storage and processing requirements for RAW captures, you might choose to use JPG format to capture your personal snap shots. Without the need for processing, these images will be ready to print or share. Too often they sit on hard drives, queued up for processing with your client work. Requiring less storage space also means you have no reason not to capture unlimited memories of your friends and family. Again, this comes down to your habits and needs.
NOTE: If you plan to change between RAW and JPG capture mode on your camera, you risk forgetting to change it back to RAW! Avoid such concerns by choosing RAW+JPG and disregard the RAWs when they are not needed.
CONCLUSION
To understand whether you should shoot in RAW or JPG file format, it’s essential to understand the characteristics of each. In summary, RAW files capture a wide dynamic range. This maximises the shadow and highlight detail, and thus provides a superior image file. However, they are larger file sizes and require extra – although not necessarily laborious – processing before being able to be used or shared.
JPG captures on the other hand, are smaller file sizes requiring less storage. They are processed in-camera, making them ready to share, but also creating significant limitations on post-production control. The very characteristics of a JPG file combined with in-camera processing make them a quick and easy option. But these same characteristics make them less than ideal for high-end image makers.
At the end of the day, the choice should be based on the end use of your images.

