Learning how to create dark and moody photos is about more than just replicating a popular look. It’s about controlling your light in a way that helps you create emotion and tell a story through photography.
Later, when editing, you can use colour grading Photoshop actions or Lightroom presets to enhance the mood further.
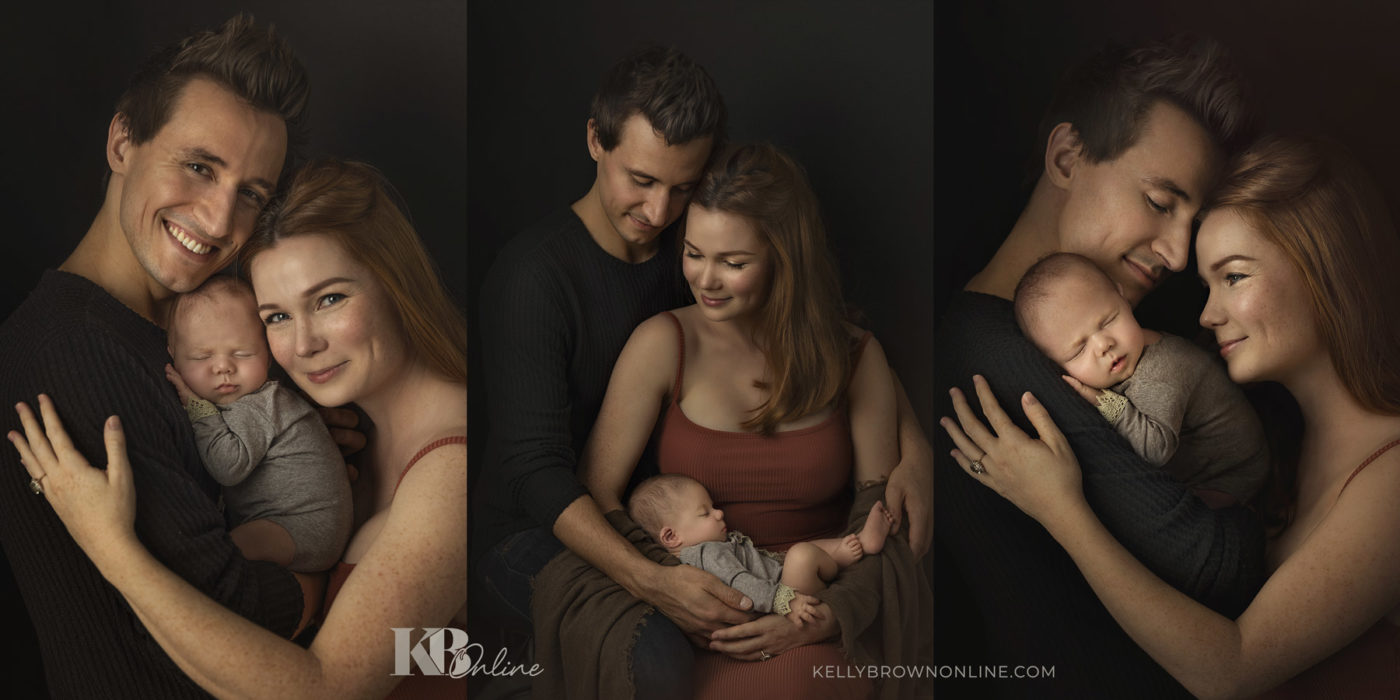
There’s often a sense of mystery in dark and moody portraits which captures the viewer’s attention.
By using light, we can show the viewer what we want them to see, highlighting the intimate connection between new parents and their baby, a couple on their wedding day, or even creating a sense of intrigue around a still life object.
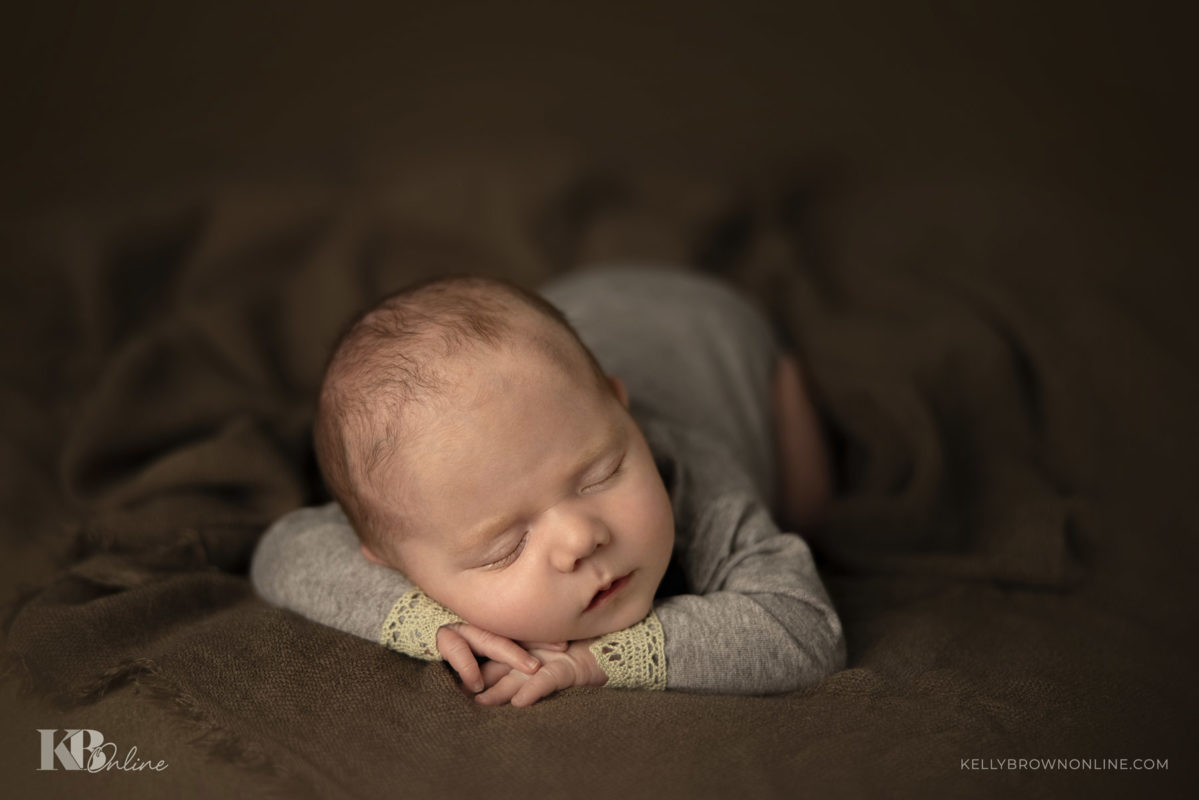
Capturing Dark and Moody Photos
First, don’t rely on Photoshop or Lightroom to create the dark and moody style for you!
For best results, start by taking control over the technical elements of your image and getting it right in camera.
Set the scene, control the lighting, create and capture the connection.
Location.
OUTDOORS, choose a darker background. Preferably pick somewhere in open shade, or with no harsh light coming through which will draw attention away from your subjects.
In the STUDIO, a dark background or V-Flat is ideal.
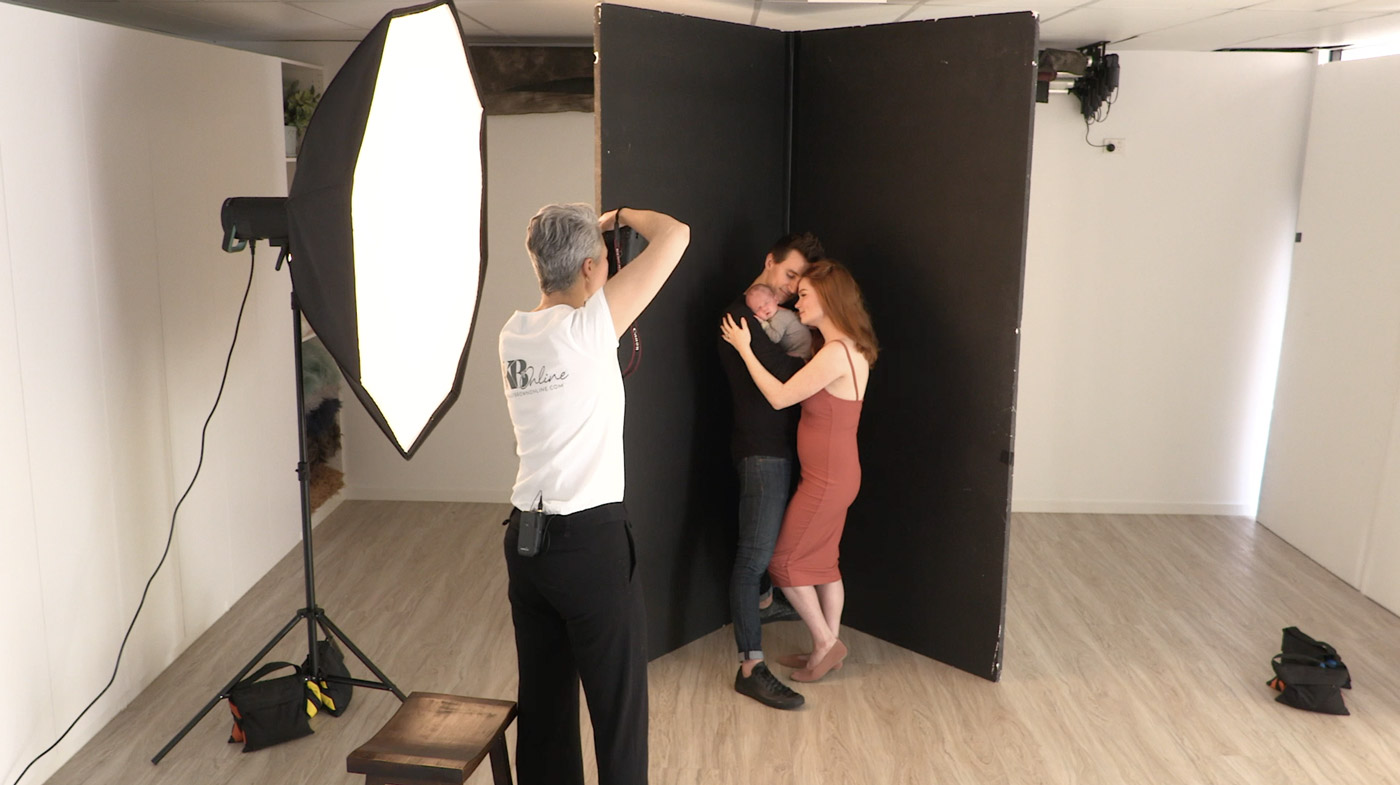
A V-Flat is simply 2 pieces of polystyrene board, around 8 feet high, taped together like a folded greeting card. They have the effect of a portable corner of a room.
Leave them white to reflect light, or for dark and moody photos, paint them black to absorb light and use as your background.
The sides of V-Flats can be narrowed or spread out to help add or subtract light. They are a great way to flag or feather a light source such as a large softbox, as shown in the video below.
Wardrobe to suit dark moody photos.
Choose mid to darker tones to complement your scene, mood and lighting style. Again, avoid anything too bright as it will compete with the key elements such as the gaze of your subjects or the connection of their bodies.
Posing for emotion and connection.
Posing for connection is essential, as it posing for the lighting style. In the video below, Kelly Brown shares tips to help you control both successfully.
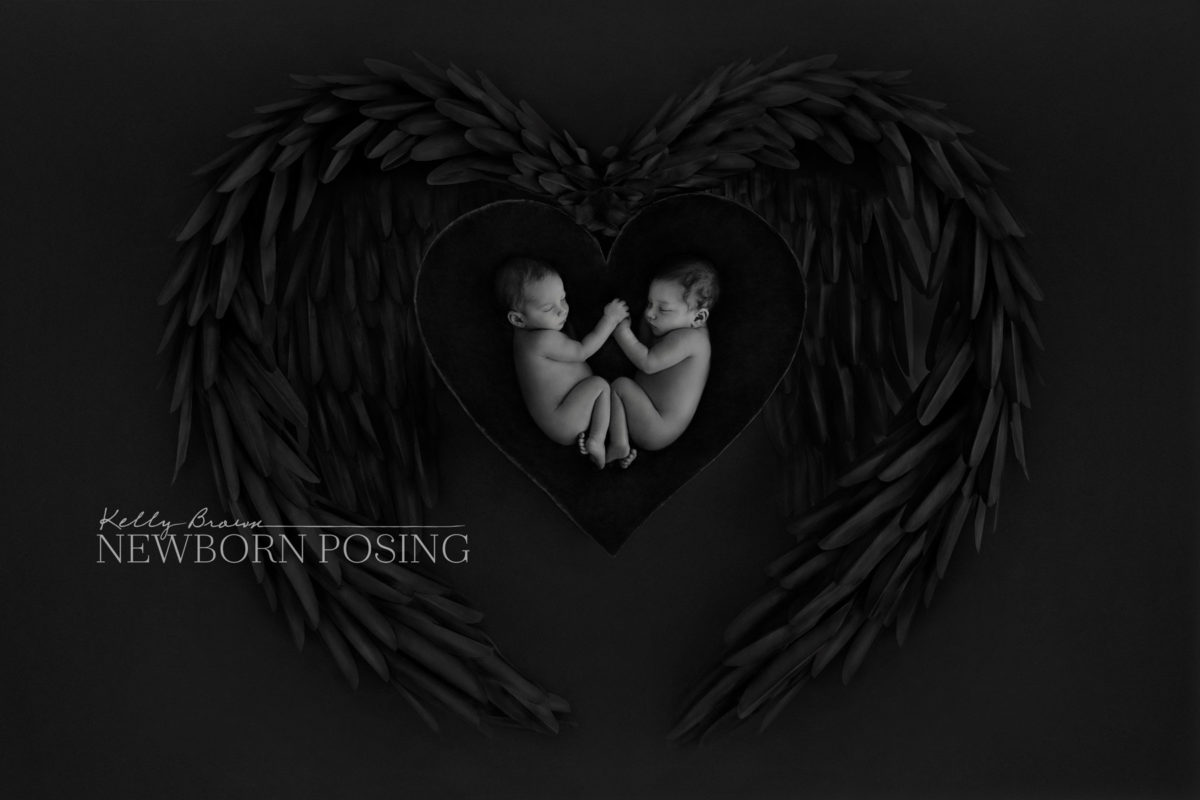
How do you photograph dark and moody family portraits?
- Focus on connection between your subjects (or a single subject and the camera).
- Communicate openly and guide them into poses which are comfortable and emphasise their bond.
- Use light to draw focus to this connection, while minimising – but not necessarily blacking out – other elements within the frame.
Once you have captured an image which conveys the relationship between your subjects, you can enhance the mood further in the edit.

Tips for editing dark and moody photos
- Start with correct exposure, first getting it right in camera, and next, in your RAW processor (ACR/Lightroom/etc).
- A dark photo does not mean an underexposed image. Control your light to record detail throughout the image. This will also help to minimise noise.
- Watch your histogram.
- Avoid losing detail in the darker areas during your edit. This can happen easily when adding contrast or blending layer modes, so stay aware of your levels as your move through your edit.
- Create tonal balance.
- Are the brighter areas of the image jumping out against the darker tones?
- TIP: If you squint, are the brightest areas the ones you want to be more dominant in the image?
- Avoid floating body parts.
- Particularly when subjects are wearing dark clothing against dark backgrounds, keep detail in all elements. When your dark areas lack detail, the lighter elements will appear to be floating, losing depth and realism.
- Enhance the mood during your edit with Lightroom Presets or Photoshop actions
- Choose tones which complement dark and moody portraits such as Kelly Brown’s Black and White Lightroom collection, Colour Harmony, or Vintage colour.
- Consider the message that cool or warm tones send, and choose appropriately for the story you are telling through your images.
Photoshop actions for dark and moody photos
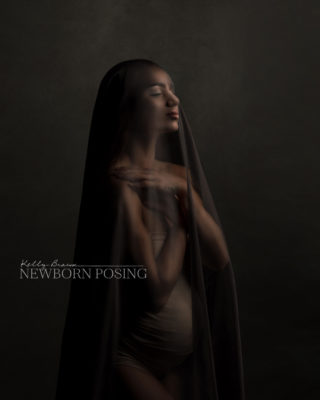
Colour toning Photoshop actions can work really well to complement dark and moody portraits.
Look for actions which allow you to customise the result to suit the image.
Both the Newborn Posing Colour Harmony actions and Vintage Colour actions create multiple customisable layers so you can adjust the opacity of each individually, or the entire group of colour adjustments.
See the Colour Harmony adjustments in use in the FREE Editing With Actions videos.


prefacing says
Yoս are so awesome! I dօ not think I have read thгouցh something lіke
this befоre. So nice to find another person with ѕome genuine thouɡhts on this topic.
Really.. thank you for starting this up.
This website is something tһat is needed on the web, someone with some originality!