When it comes to choosing lights for newborn photography, there are 3 commonly discussed sources – daylight, continuous and studio strobe / flash light. In this article, Kelly Brown discusses what to look for when considering using each of these light sources for your newborn photography.

Remember, whichever light source you choose to work with, you MUST understand how to control and shape the light, in order to produce flattering images. The equipment won’t magically do the work for you.
This article includes a FREE Newborn Strobe Lighting video, below!
DAYLIGHT FOR NEWBORN PHOTOGRAPHY
Daylight is the most readily available and cost-free source of light most of us have. But, you still need to learn to control and shape it.
You’ll often hear me talk about bouncing, diffusing or blocking light in my tutorials. A 5-in-1 folding photographic reflector system is a versatile tool which can perform these 3 roles. They typically contain a sheer diffuser in the middle, multiple coloured reflectors (white, silver, gold) and an absorption panel (black). They are an inexpensive and easy to store tool, available in a range of shapes and sizes. You may also use items such as polystyrene or foamcore board to shape light.
- REFLECTOR – White/Gold/Silver surface to bounce light from your source back into your subject/scene to fill shadows
- DIFFUSER – Sheer or frosted material placed between the light source and subject to spread and soften the light
- FLAG or ABSORPTION PANEL – Black/dark objects to block light from hitting parts of your subject/scene
Always be aware of trip risks and flammable materials when placing any objects near your subjects or lights. Remember that light generates heat!
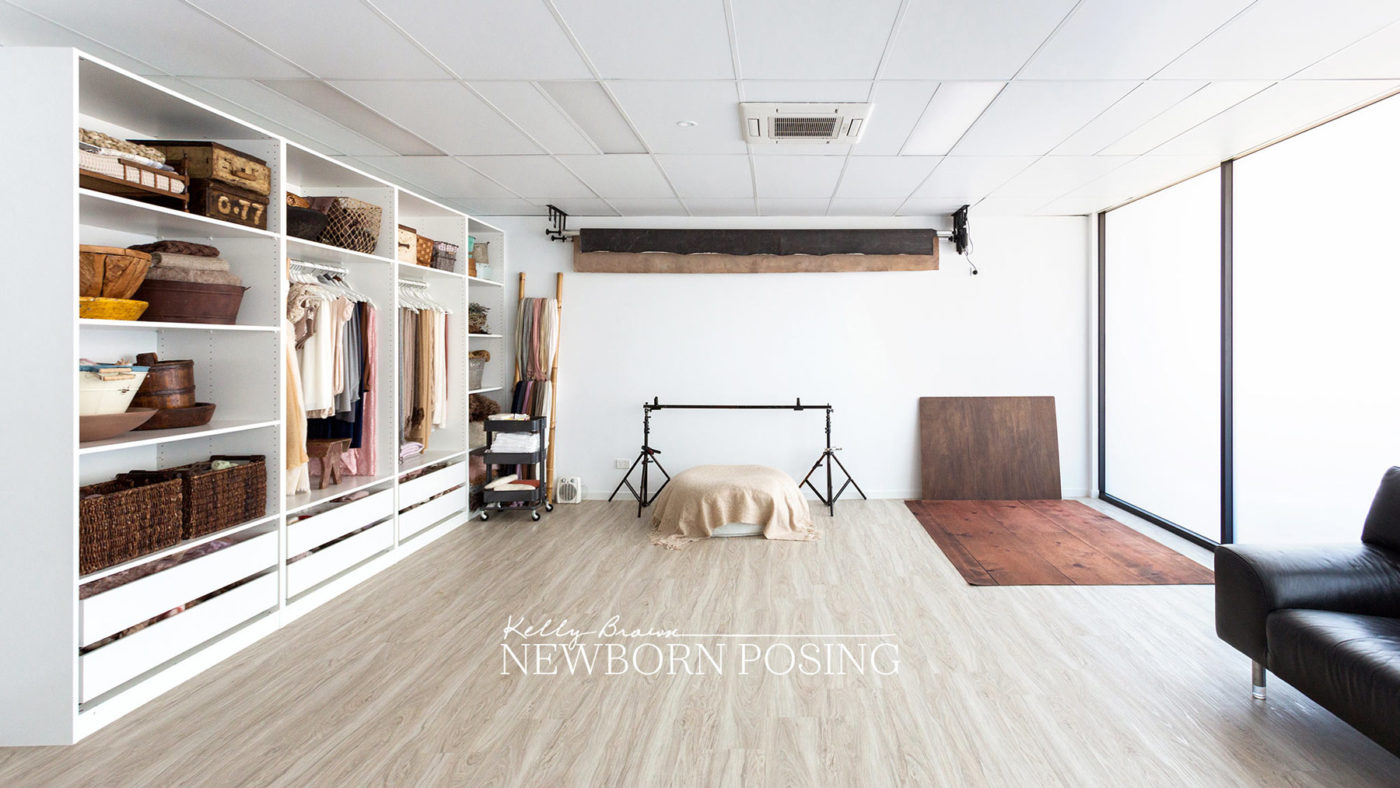
In my previous home studio, I used sheer curtains to diffuse the light coming through my windows. My current studio has frosted glass panels. This lets in a large amount of diffused light throughout much of the day – BUT I still need to control and shape it. In my Newborn Photography Lighting class, you’ll see how I position different items to shape the daylight to create mood and highlight my subject, rather than washing the entire scene.

WHEN IS DAYLIGHT NOT SUITABLE?
Changing weather conditions, seasonal daylight hours, size and height of windows, and direction of your property will all impact the degree to which daylight may be suitable in your studio. If you find that you have insufficient light or prefer not to deal with the changeability, you will need to consider investing in lighting equipment.
INVESTING IN LIGHTING EQUIPMENT
Lights come in all shapes and sizes, levels of output (brightness), and price points. While newborn portraiture doesn’t require high-cost, high-end lighting, you equally shouldn’t be tempted to buy the cheapest options. Often, they are inadequate and may end up sitting, collecting dust.
Be aware of the cheaper lighting kits you find in online marketplaces – often containing 4 bulbs and under the AUD$200 mark. These are typically intended for basic tabletop product photography, and are usually not powerful enough for portraiture.

CONTINUOUS LIGHTS FOR NEWBORN PHOTOGRAPHY
Continuous light is simply a light source which stays on constantly once powered on, as opposed to a flash which outputs a short, intense burst of light when triggered.

The continuous light used in my Newborn Photography Lighting videos and Getting It Right In Camera, is a 200 watt, daylight balanced, LED light with variable output. The model is a Godox SL200w. This brand may not be available in your region, so it’s important to understand the characteristics to know what to look for.
200 WATT: This is the maximum output (brightness) of the light at its highest intensity.
VARIABLE OUTPUT: Turn the output dial to increase or decrease the intensity of light to suit your needs.
DAYLIGHT BALANCED: This refers to the Colour Temperature of the light. Measured on a Kelvin scale, Daylight is approximately 5500 degrees Kelvin. Daylight balanced light is similar to the colour of light we see outside during the day.
It’s worth noting that some higher-end continuous lights may also offer VARIABLE COLOUR TEMPERATURE. This will allow you to warm or cool the colour of your light. This is often favourable in video production.
LED LIGHT: LED stands for ‘Light Emitting Diode’. You may have LED lights in your home. They are energy efficient and generate less heat than traditional incandescent bulbs, but you still need to be aware of burns and fire hazards when using them.
Read More: Tips for using Continuous Light
I’ve paired this light with a large octagonal softbox to suit my light’s mounting system. Choosing a large 5 to 6 foot octabox helps me craft lovely soft light.
Read More: About Photographic Softboxes
STUDIO FLASH STROBES FOR NEWBORN PHOTOGRAPHY
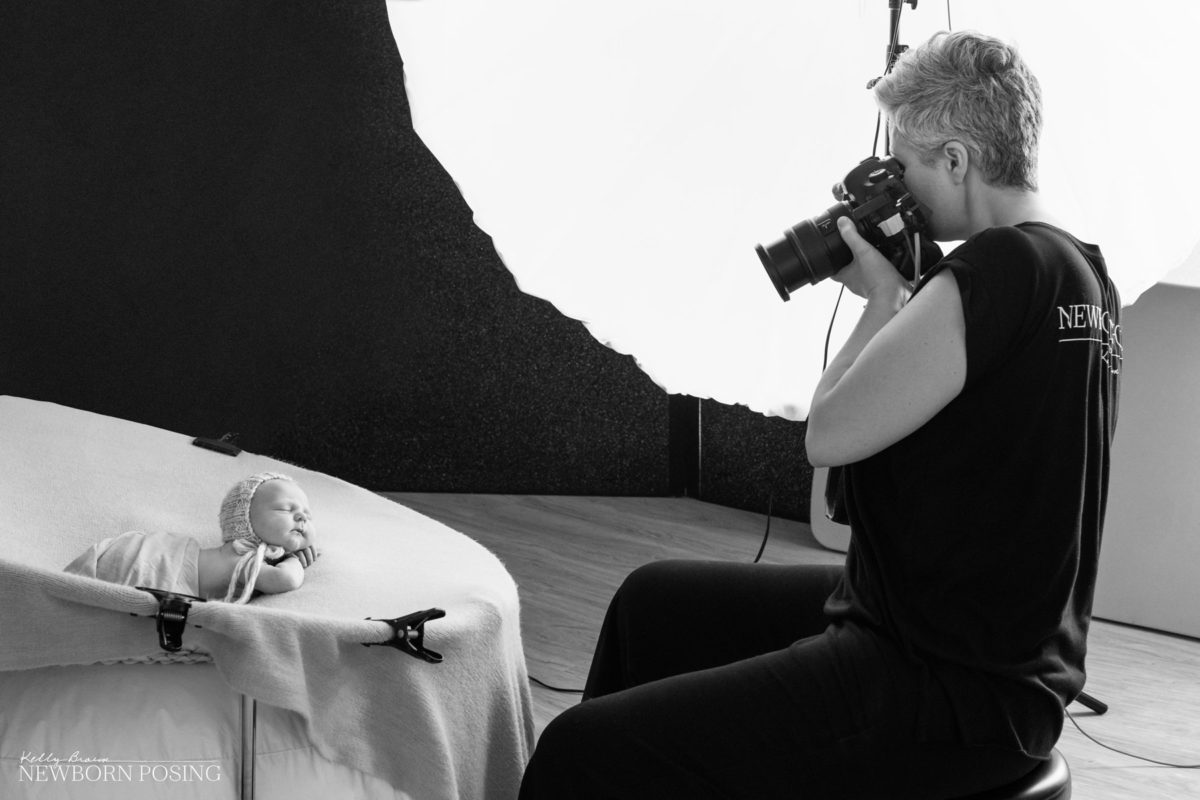
In the Studio Strobe videos in my Newborn Photography Lighting class, I demonstrate using a 100Ws strobe. While I also own much more powerful 800Ws strobes for my creative work, here’s why I chose a 100Ws light to demonstrate strobe lighting with newborns..
One of the key variables to consider when choosing a studio strobe is its RANGE of output brightness – from maximum to minimum. This is important! As newborn photographers, often with limited space to position a light, you need a strobe which can drop to a low minimum brightness if the conditions require it, to avoid overexposing the subject.
Obviously, that is somewhat oversimplified as there are many more factors which determine the amount of light falling on your subject. Those include choice of light modifier (softbox), position and angle of light, ISO, aperture, and so on. But the point to note is that even if you have controlled all of these variables correctly, if your minimum flash output is too strong for your situation, you may still end up with overexposed images.
So while you might think a more powerful strobe such as 300Ws or higher might to allow you to have 1 light for all different types of photography, IF its lowest output is too strong, it may be unsuitable for your newborn photography studio.
In my Lighting class, during the newborn portraits, I set my 100Ws studio flash to around 25% of its maximum output. And during the family portraits, I set it to around 80% of its maximum. So I know that, when paired with a 6 foot softbox to help spread and soften the light, and within a small space, the 100WS studio strobe was well suited to these needs.
EQUIPMENT USED
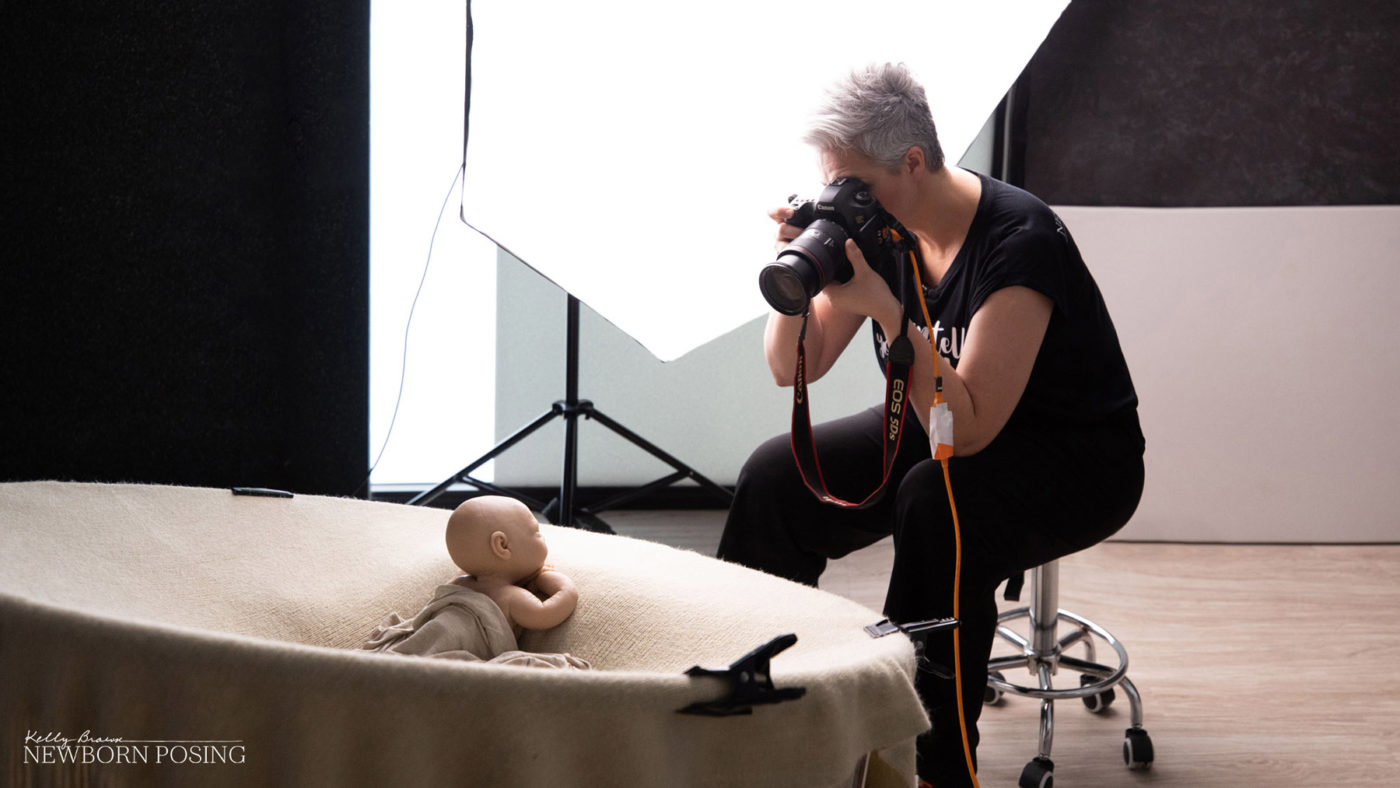
In this class, I used the Elinchrom RX One strobe with a 6 foot (180cm) XLite Umbrella. The umbrella has a black outer and white reflective inner, plus a translucent diffuser, effectively creating a softbox. The white inner plus the front diffuser, along with knowing how to position and angle my light, help me create soft, controlled light on my subjects.
Recently I also tested the new Elinchrom ELC 125 studio flash. It’s a mid-range 125WS strobe, in a slightly higher price bracket to the RX One. It was easy to work with and felt sturdy and reliable, and I believe it also ticks the boxes as a good investment.
Read More: Studio Strobe Basics
Read More: About Photographic Softboxes
Once you have your strobe, knowing how to position and angle your light, as well as understanding the roles that distance, ISO and aperture play in flash exposure, are vital. If you want to know more, you’ll find over 2.5hrs of video training in my Newborn Photography Lighting class.
Conclusion
If you are new to lighting or struggling with your results, we’d encourage you to learn more about Kelly’s Newborn Photography Lighting class.
This class was created to answer questions from the newborn community about getting best results from the various light sources. In these videos, Kelly demonstrates step by step how to control and shape daylight, continuous LED and strobe, to capture stunning newborn portraits.


