Photoshop is packed with numerous keyboard shortcuts to help you access tools and adjustments quickly, to speed up your workflow. So which ones do you really NEED to know? It’s good practice to memorise the generic interface shortcuts which change the way you view your canvas. There’s a lot of information on our Photoshop interface, with panels, tool bars and more, sometimes obstructing our image view. Did you know you can hide much of this clutter away temporarily with simple keyboard shortcuts?
Hide or Show All Photoshop Panels
The Toolbar panel (left of screen), Control Panel (top of screen, below menu bar) and window panels such as Layers and Actions take up a considerable amount of Photoshop’s interface. While you work, toggle these windows on/off by pressing TAB on your keyboard for a clear view of your image. Press this shortcut once to hide, and press again to bring them back.
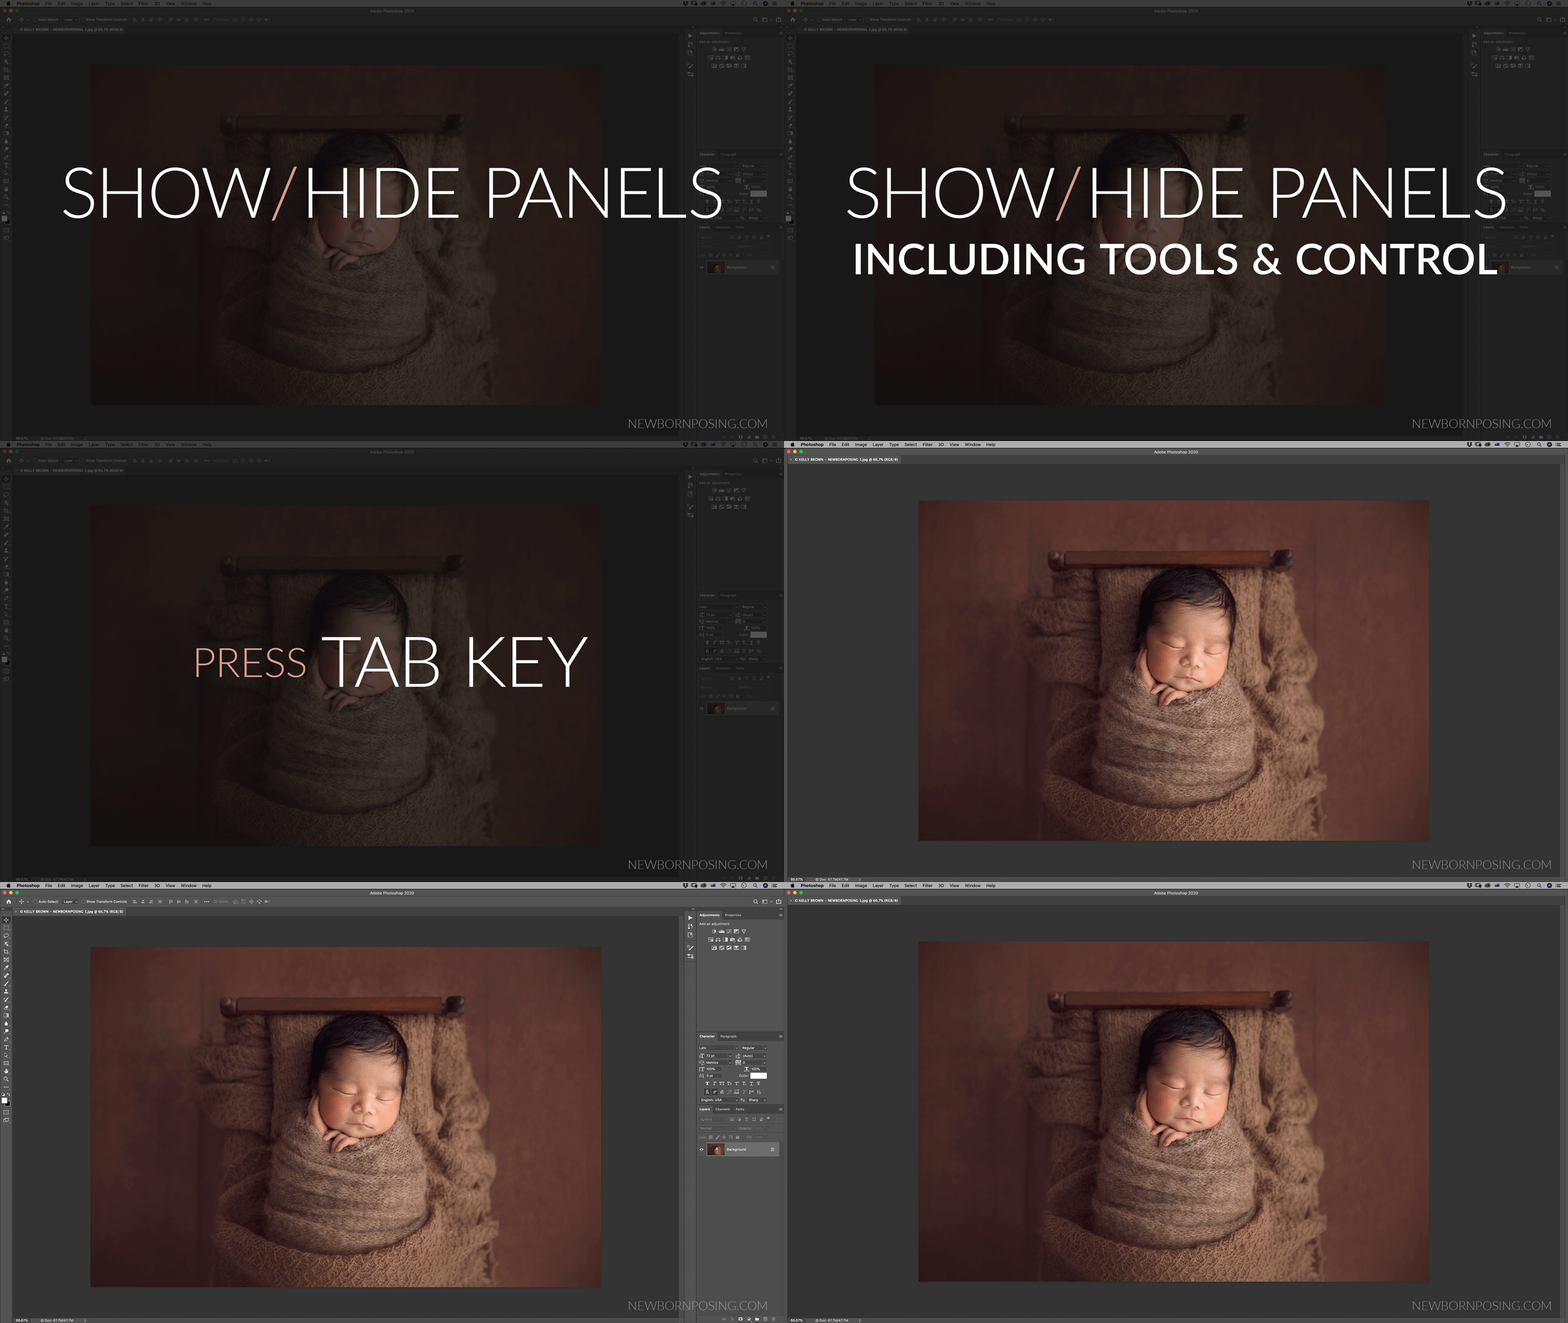
- To hide or show all on-screen panels INCLUDING the side Toolbar and top Control panel, press the TAB key.
Hide or Show Photoshop’s Window Panels
Do you have your window panels (Actions, Layers, etc) neatly organised or scattered across your screen? Either way, the Shift+Tab shortcut will allow you to temporarily hide these Photoshop panels, while leaving your Toolbar and Tool Control panel visible. This can be a highly efficient way to work, still being able to access your tools and their settings as you edit, and bringing back your additional panels only as needed.
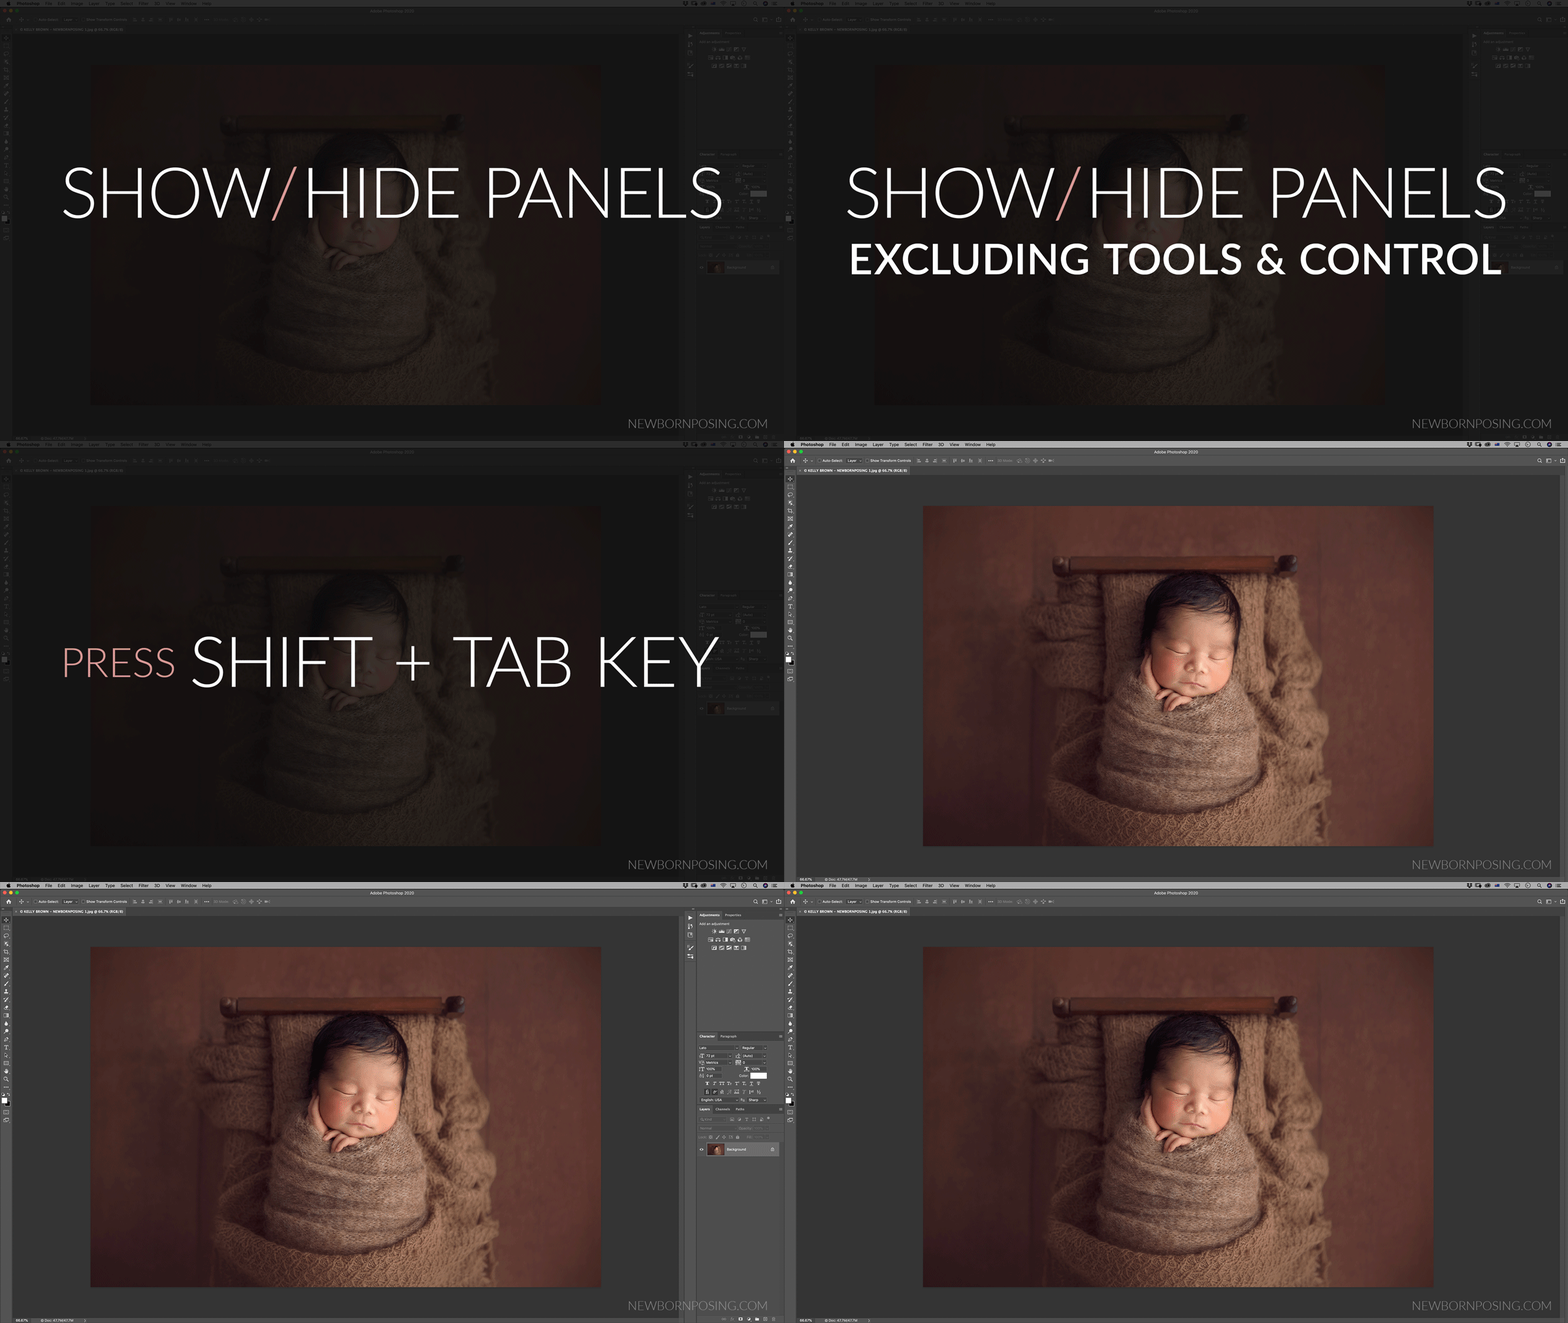
- To hide or show all on-screen panels EXCEPT the side Toolbar and top Control panel, press the SHIFT+TAB keys.
Change Screen Mode in Photoshop
Photoshop has 3 Screen Modes. Tap (don’t hold!) the letter F on your keyboard repeatedly to toggle between these modes.
Standard Mode – See all panels and opened images. This is the mode most of us work in, but it can also be the messiest, particularly if multiple images are open. Switching to the other 2 screen modes will both clear the clutter and help you maximise viewing area.
Full Screen with Menu Bar – Hides the tabs of any other open images and minimises panel real estate, allowing you to focus solely on the active image.
Full Screen – Hides everything except your image canvas.
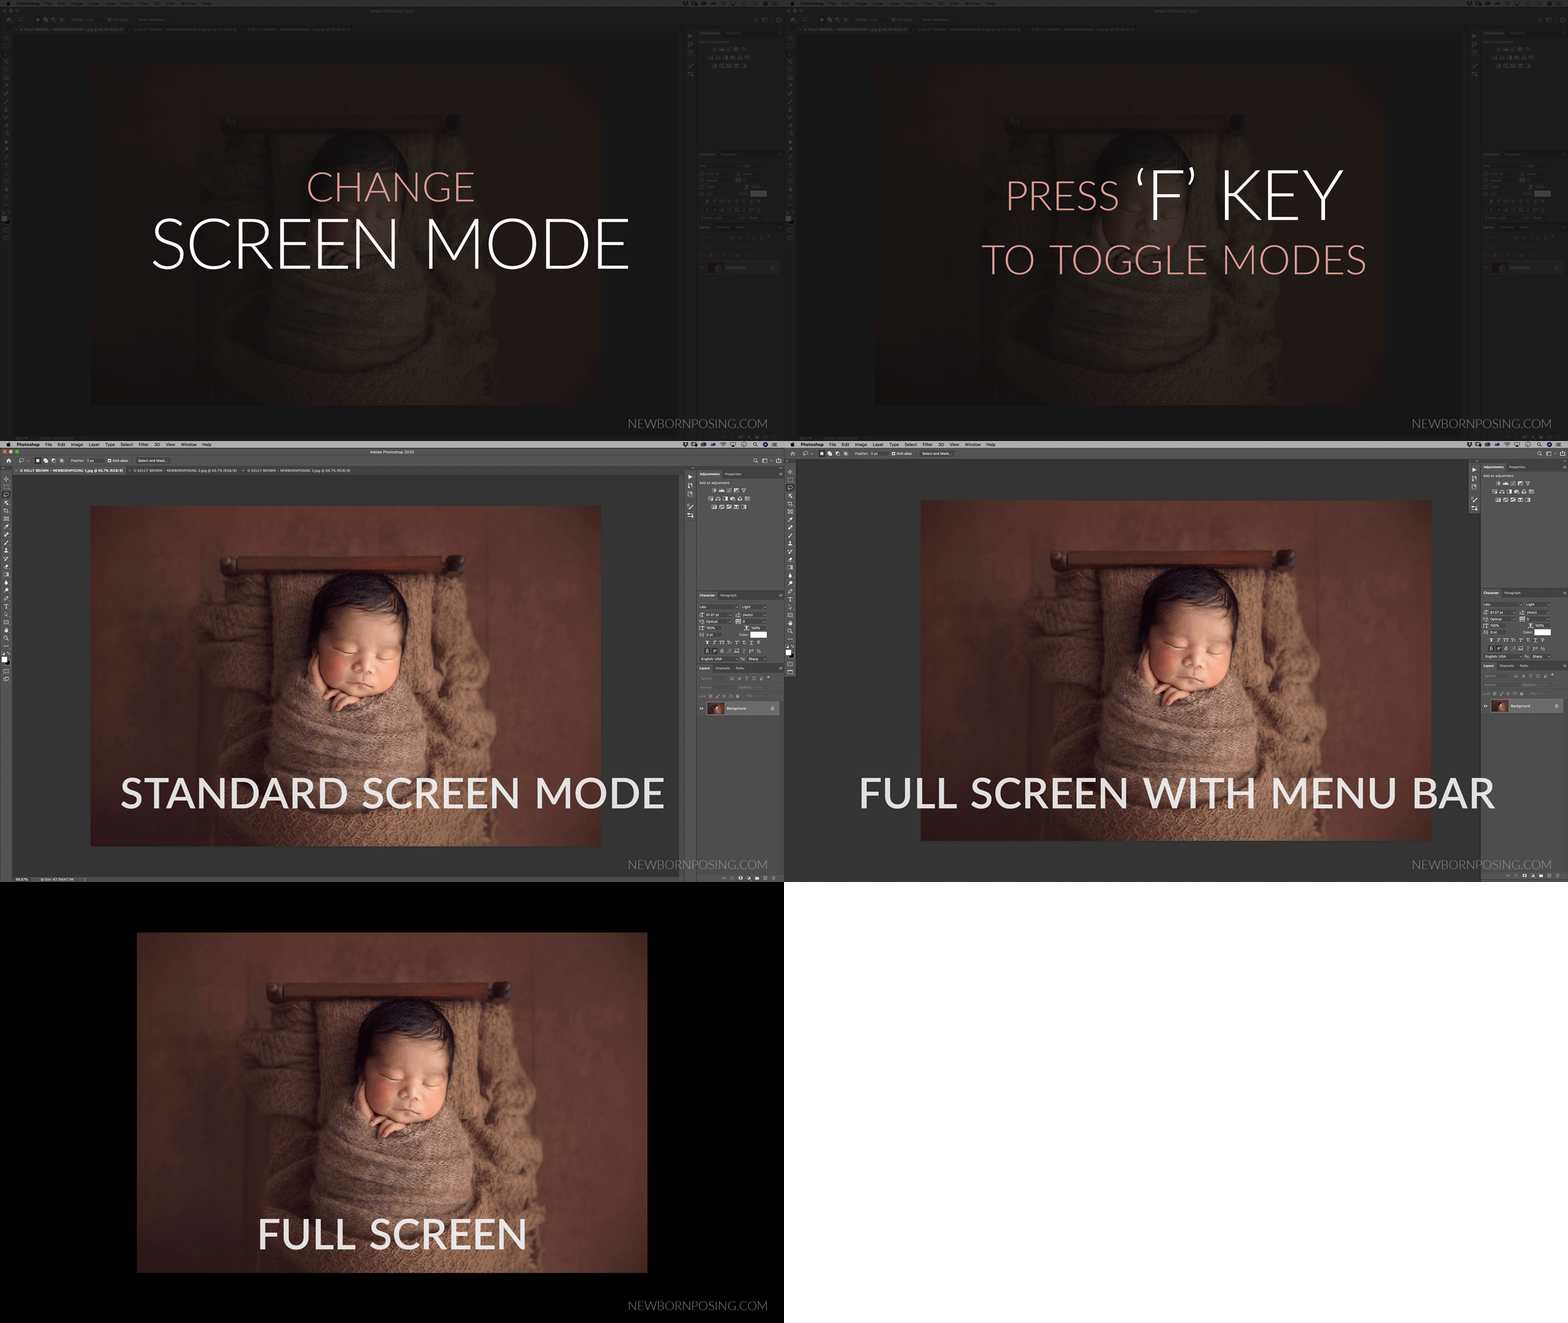
- Shortcut: Tap F on your keyboard to switch between the 3 screen modes. With each tap you will change to the next mode. Continue to tap F until you arrive at your chosen mode.
Photoshop Zoom In / Out Shortcuts
Do you like to zoom in and out of your image to look for areas which need attention or to enlarge the area you are working on? Using Photoshop’s default shortcuts you can do this in a fraction of a second.
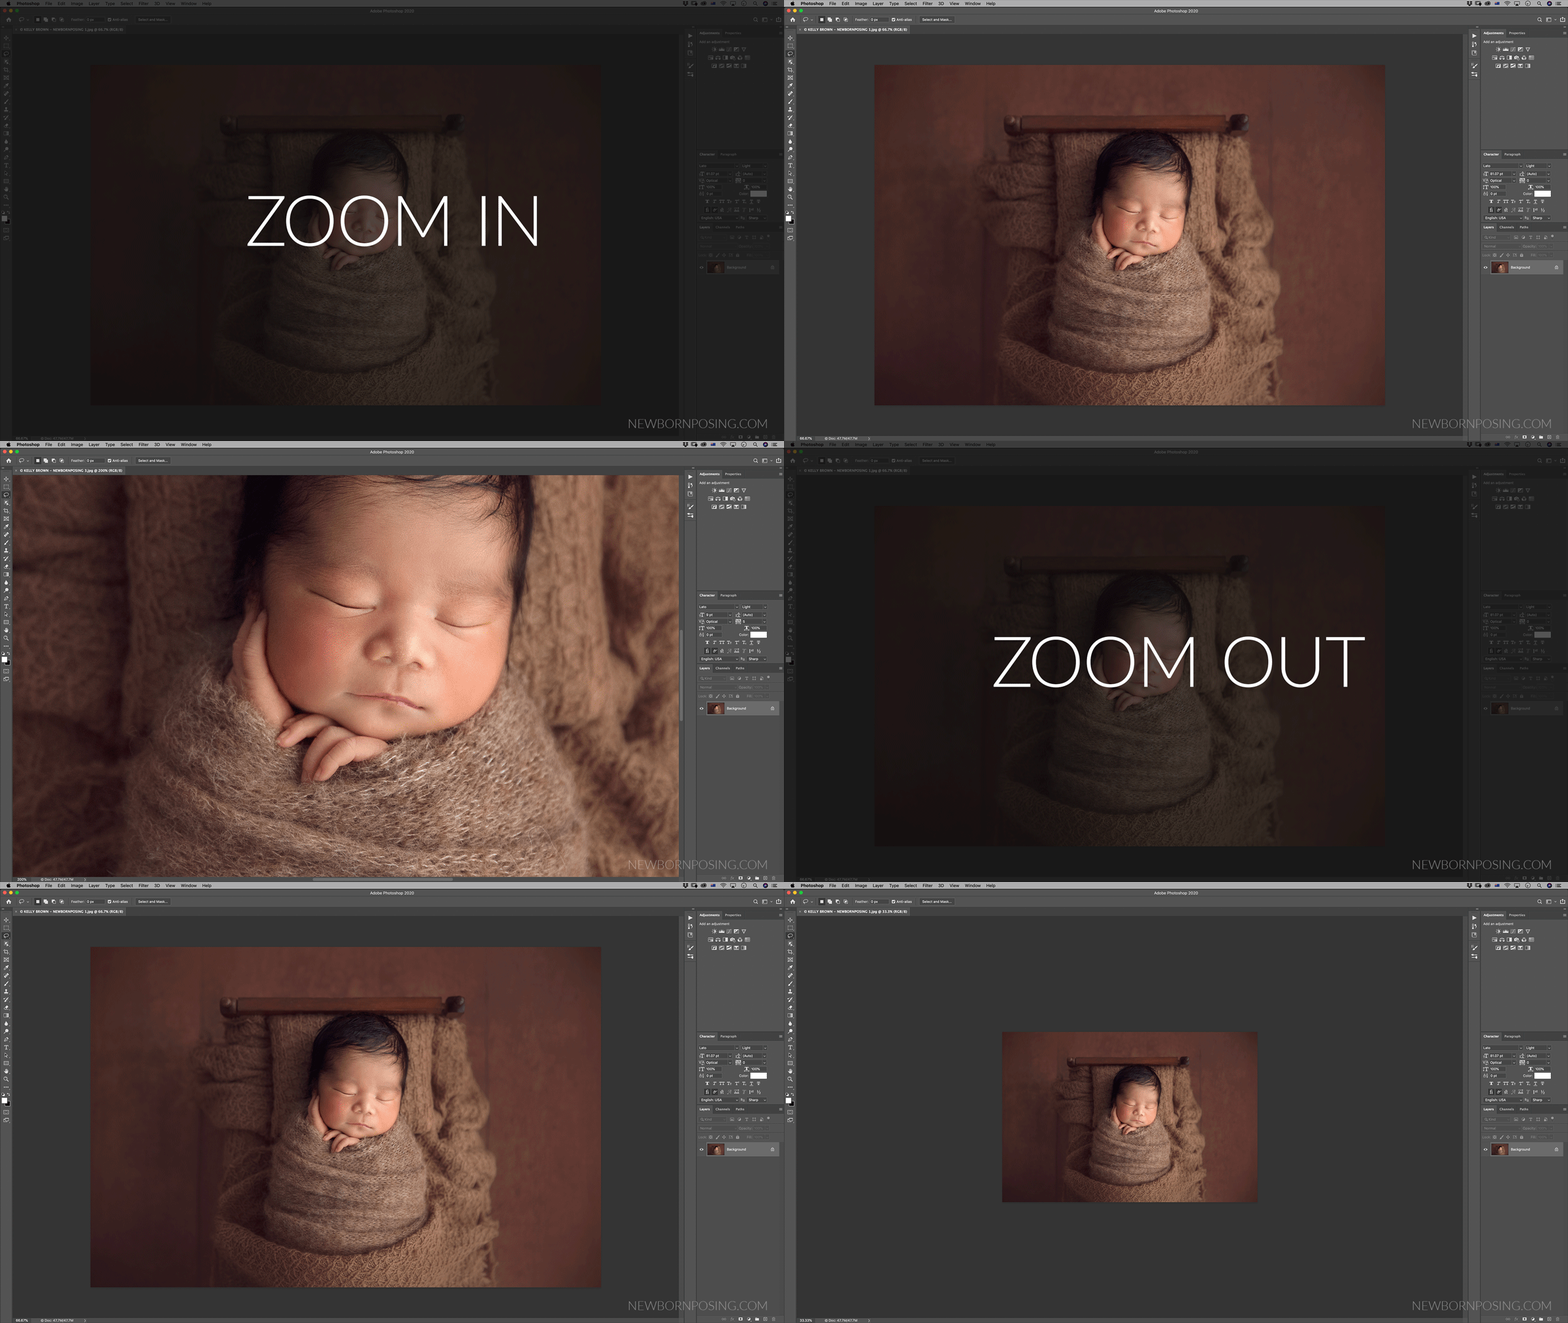
MAC USERS ZOOM SHORTCUTS
- Zoom In: Hold Command and press + (the plus key)
- Zoom Out: Hold Command and press – (the minus key)
WINDOWS USERS ZOOM SHORTCUTS
- Zoom In: Hold Control and press + (the plus key)
- Zoom Out: Hold Control and press – (the minus key)
FIT TO SCREEN SHORTCUTS
- Command+0 (Mac)
- Control+0 (Windows)
After you’ve zoomed in or out, you may want to quickly return the image to fit to screen. Hold Command (Mac) or Control (Win) with 0 (the number zero) to do so.
HINT: To view your image in Photoshop without distractions, toggle to Full Screen mode, using the F key shortcut. Then zoom in/out or fit to screen using these above shortcuts. Hold the Space bar while you drag your mouse to move to a different section of the image.
Change Photoshop Canvas Colour
Did you know you can quickly change Photoshop’s canvas colour? But why might you want to do this?
You can change the canvas colour to see how your image will appear when presented with a specific mat board or frame colour. Or, you might want to compare the “whites” you’ve created in your high-key image against true white, with a custom canvas colour. Changing the canvas colour is also particularly useful when creating web graphics, both to define the edge of your canvas or to see how your image will appear in dark or light mode interfaces.
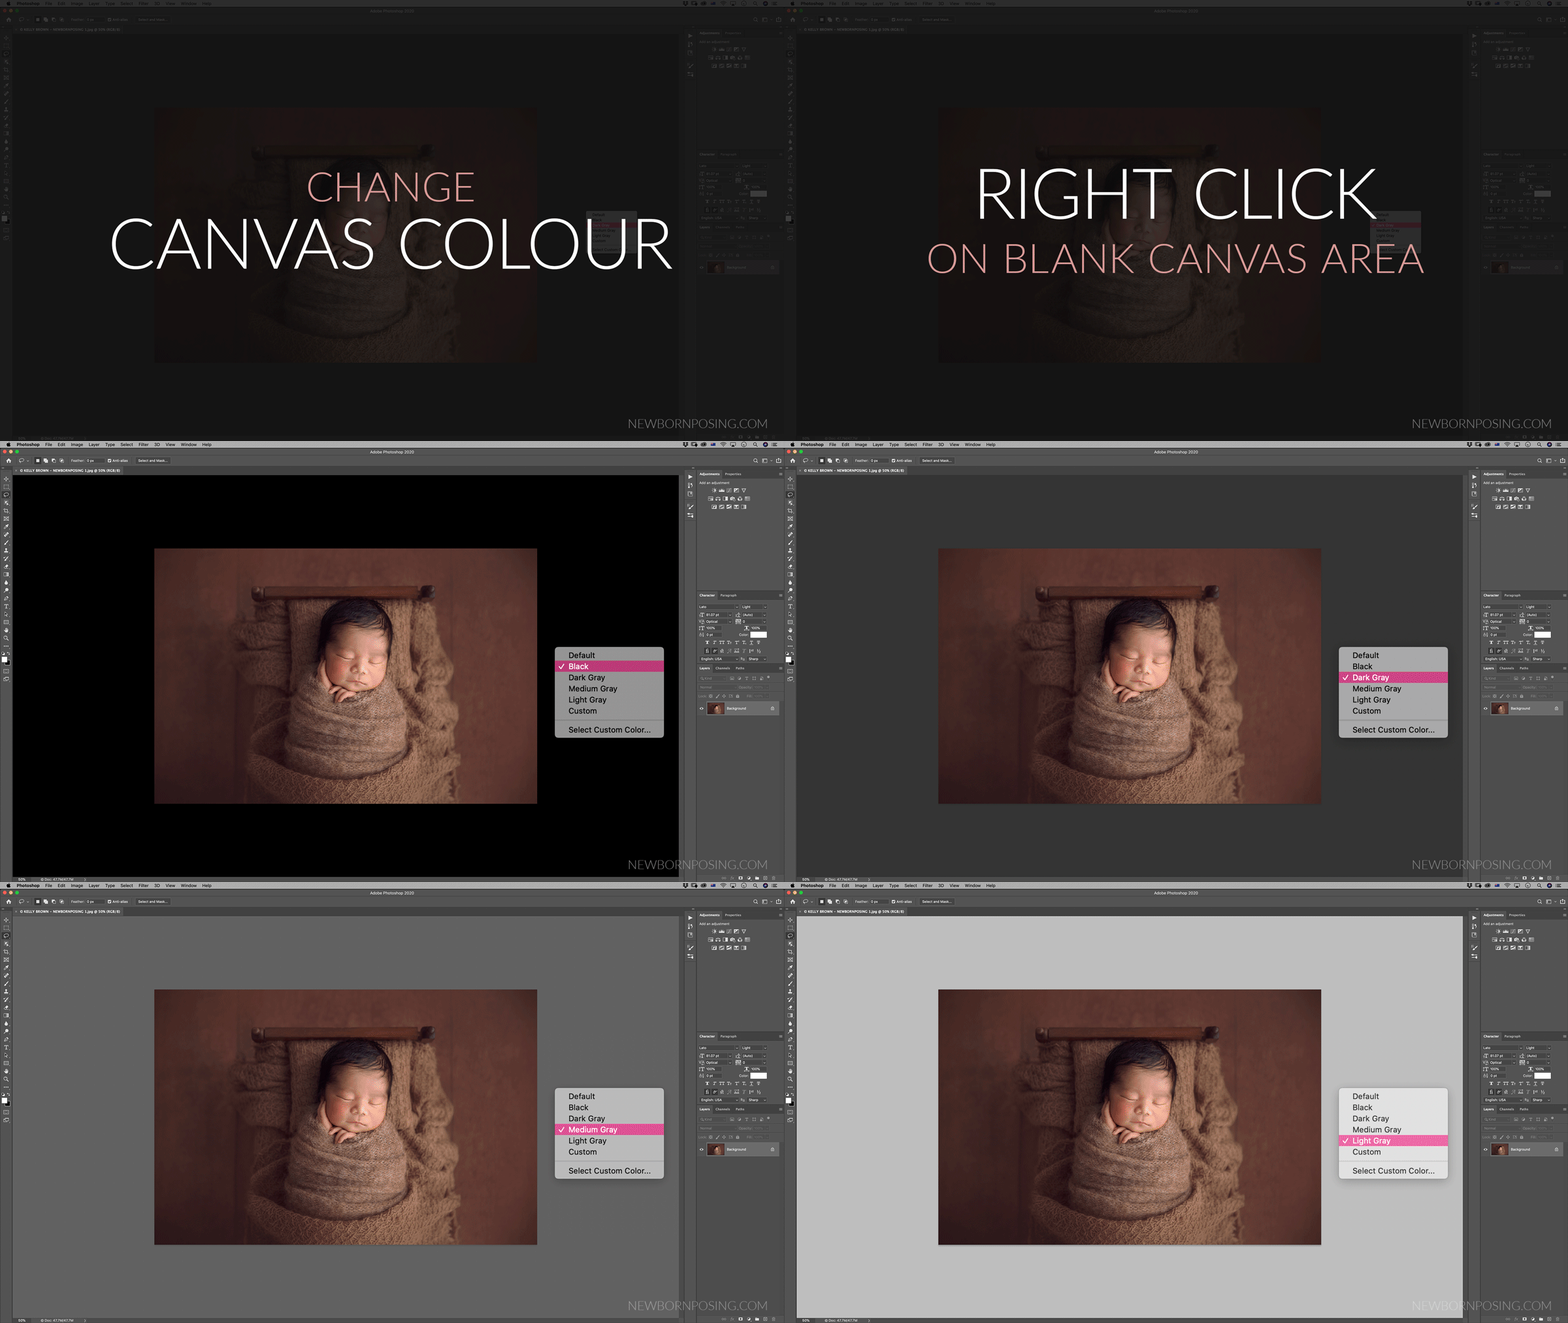
- Right click on the blank canvas area (not on the image)
- Choose from one of the preset neutral (grey) settings
- Or, select Custom and set your own colour
Remember, editing is best performed against a neutral (grey) setting, unless you have a specific need to change that.
Conclusion
As a general rule, your own editing needs and habits will determine which tool shortcuts are ideal for you to memorise. However the shortcuts we’ve listed above are useful to all Photoshop users. In fact, once you find your flow, these may be some of the most commonly used.
Don’t forget that you can also allocate the Function keys on your keyboard to run your favourite Photoshop Actions with a single click. Learn how in our Photoshop Actions article. And you’ll also find a host of Photoshop Interface shortcuts and tips in our Photoshop Workspace article.
You can also find a comprehensive list of Photoshop’s default keyboard shortcuts on Adobe’s own website.


Robert van Hall says
Very useful, thank you Kelly!